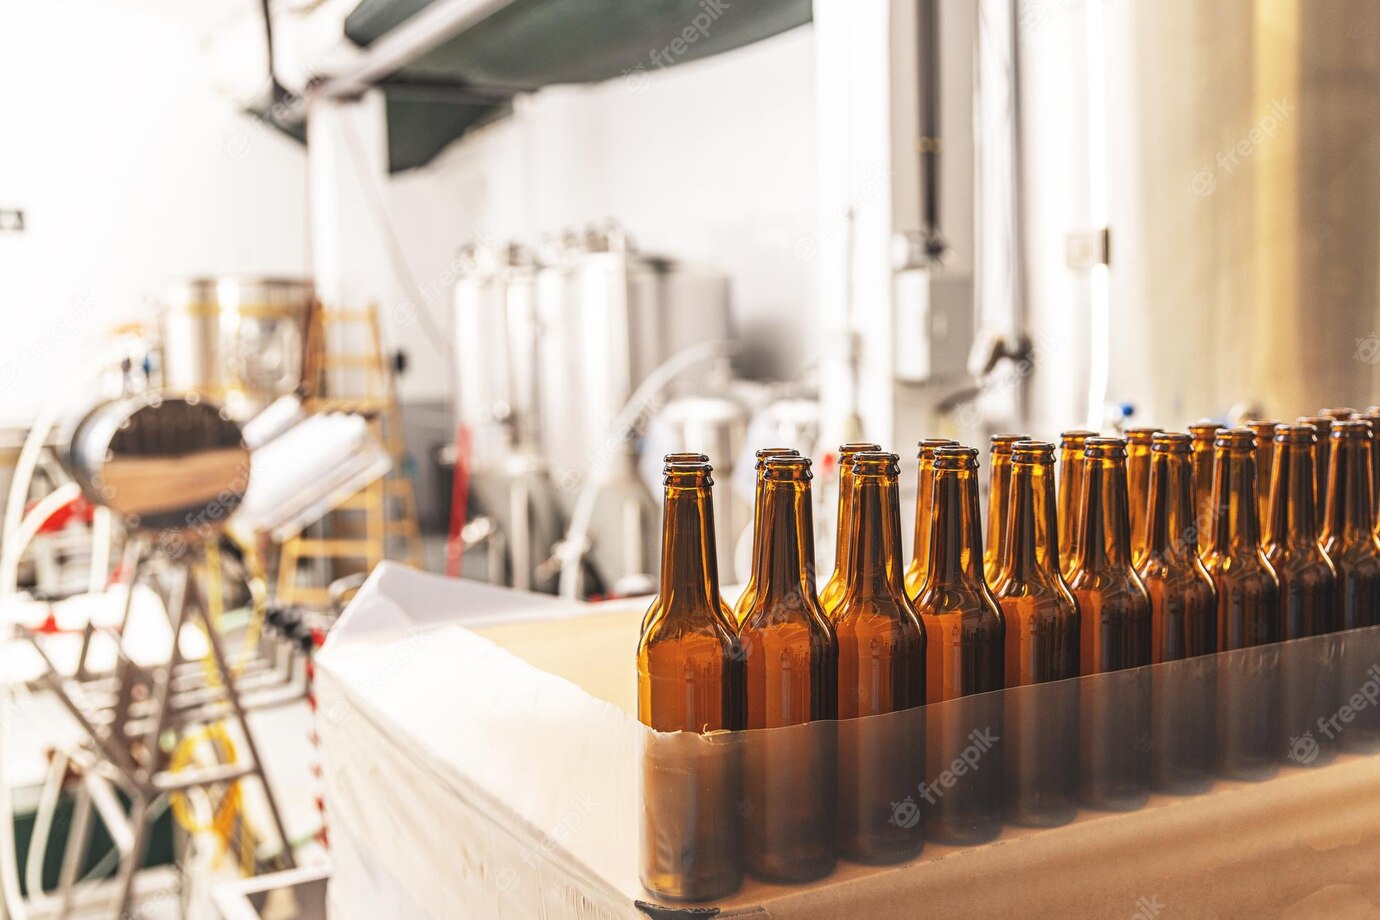
Unlock the joy of beer brewing with friends – try Collaborative Brewing!
Brewing beer with friends is an exciting, rewarding pursuit! With collaborative brewing, you can explore old and new brewing techniques, test recipes, and create unique brews that you share with your collective. Whether you’re a novice or a seasoned brewer, you’ll learn something new with each experience, including recipe design, brewing processes and tasting techniques. Collaborative brewing is a fun way to bring your techniques and flavors together, creating memorable and flavorful brews that all of your friends can be proud to share.
Collaborative Brewing: How to Brew with Friends
Brewing beer with friends is one of life’s great joys. Whether you’re a novice home brewer or an experienced craft beer geek, brewing beer with a bunch of friends is a great way to bond and make something really special. But before you start inviting everyone over to your place to brew up a batch, there are a few things you should know to make sure everyone has a great time.
To get the most out of a collaborative brewing experience, you’ll need to have clear roles, materials, and expectations. Here’s a guide with some tips on how to make sure you have a successful and enjoyable day of brewing.
Step 1: Choose the Beer You Want to Make
The most important step in collaborative brewing is deciding what kind of beer you and your friends want to make. You should think about what styles your friends like, how much time you have, and what kinds of ingredients you have available. It might be a good idea to ask people if they’re interested in joining a few weeks before the actual brew day so you can have time to decide exactly what kind of beer you want to make.
You can also take this opportunity to try something really special. You could brew an experimental beer with unusual ingredients or a challenging style or you could brew something with a historical twist. Whatever you decide, make sure it’s something that everyone is excited about.
Step 2: Assign Roles and Responsibilities
Now that you’ve decided on the beer you want to make, you’ll need to assign roles. This is an important step to help ensure that the brewing process goes as smoothly as possible. Assign people roles such as head brewer, assistant brewer, maltster, hopster, bottler, and cleaner. Most people also like to assign a social media coordinator to record and share the day’s events.
The head brewer will typically oversee the overall process, do most of the measuring, and ensure that the recipe is followed. The assistant brewer will help out with any tasks the head brewer may have. The maltster is responsible for measuring the grains, crushing the grains if needed, and mashing them. The hopster is responsible for adding the hops at the right times in the brewing process. The bottler is responsible for bottling the beer. The cleaner is responsible for cleaning up after the brew day.
Step 3: Gather Your Ingredients and Supplies
The next step is to make sure that you have all the ingredients and supplies you’ll need for the brew day. Make sure you have the grains, hops, yeast, and any other special ingredients you’ll need. Don’t forget about the cleaning and sanitizing supplies as well.
You’ll also need to make sure you have all the necessary equipment. This includes a large stock pot, thermometer, yeast starter, hydrometer, bottling bucket, and bottles. If any of your friends don’t have these items, you should make sure you have enough to go around.
Step 4: Prepare the Beer
Once you have all of your ingredients and equipment, it’s time to start brewing. The head brewer should lead the process, while the assistant brewer should jump in and help out when needed. Follow the recipe closely, paying attention to timing and temperature.
Once you’ve made it through the entire process and the beer is done, it’s time to take a break and enjoy the fruits of your labor. After the break, it’s time to bottle the beer. This is a very important step, as it will determine how the beer will taste once it’s fully carbonated. Make sure the beer is correctly mixed and aerated before you bottle it.
Step 5: Clean Up and Enjoy
The final step is to clean up your mess. This is an often overlooked part of collaborative brewing, but it’s an important one. Make sure all the equipment and ingredients are cleaned and stored properly. Also, don’t forget to label your beer so you can track it over the coming weeks.
Finally, it’s time to enjoy the beer you’ve made together. You can hold a tasting party and have everyone bring snacks to share. Or, you can just crack open a few bottles and hang out together.

