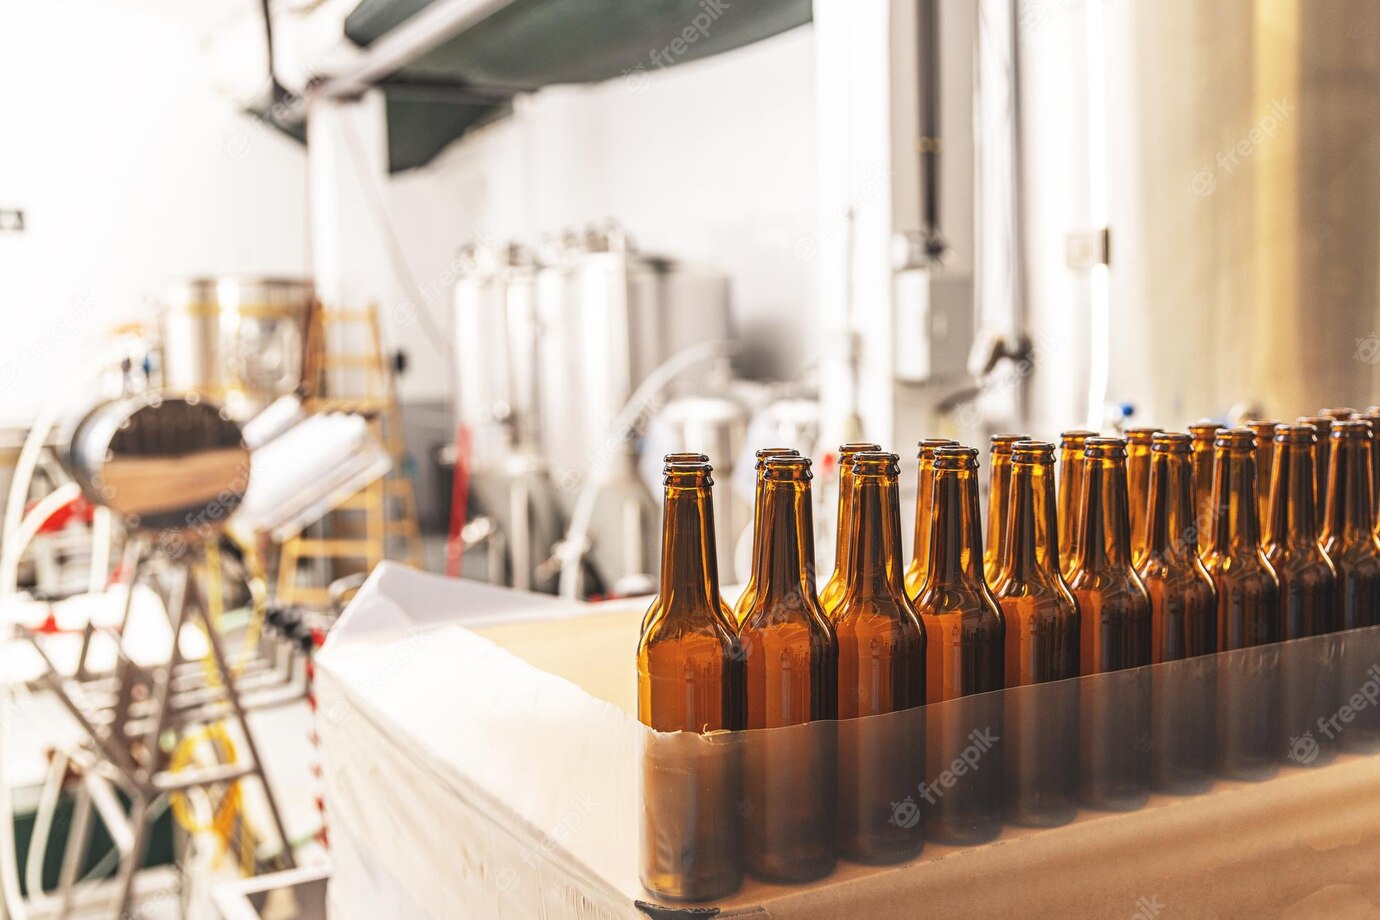
Bottling Beer? Discover the Tricks to Do It Right!
It’s not hard to understand why home brewing beer has become increasingly popular. Making beer at home is both satisfying and fun, and it allows you to create a unique beverage tailored to your taste. Once you’ve developed the perfect home-brewed beer, it’s time to learn the best way to store and bottle it—which is the focus of this article. Here, you’ll get comprehensive tips and tricks on bottling your beer, including the necessary supplies, sanitization protocols, and bottling approaches. So let’s get started on the journey to perfect beer bottling!
Bottling Your Beer: Tips and Tricks
Bottling your own beer is one of the most rewarding activities for a home brewer. Nothing can quite compare to being able to open that first cold bottle of home brewed beer that you created from start to finish! However, if this is your first time bottling beer, it can be daunting and you might end up making some common mistakes. In this article, we’ll be looking at some tips and tricks that you can use to get better results and enjoy a great experience while bottling your beer.
Picking the Right Bottle Size
This is an important part of bottling your beer. Generally, beer is bottled in either 12-ounce bottles or 22-ounce bottles. Lately, however, some craft brewers have been using 375 ml bottles, 16-ounce bottles and even 750 ml (25.4-ounce) bottles for some of their beers. The key here is to pick the right bottle size for your beer’s style. Lighter beer styles like pale ales and wheat beers are generally better served in 12-ounce bottles, whereas bigger, more complex beers like imperial stouts and Belgian Quadrupels can really benefit from being carbonated in a larger bottle size.
Cleaning and Sanitizing Your Bottles
This is a critical step that should never be skipped when bottling beer. In order to ensure that each bottle is free of bacteria and other contaminants, it is important to clean and sanitize them thoroughly. Make sure to scrape off any labels and soak the bottles in a warm solution of a commercial oxygen and chlorine free beer cleanser. Afterwards, rinse them and then soak them once more in a solution of a sulfite based sanitizer such as Star San. Soaking them for 10 minutes should be enough.
Filling the Bottles
Once your bottles are clean and sanitized, it’s time to fill them up with your delicious home brew. The most common way to fill your bottles is with a bottling wand and a hose attached to a spigot at the bottom of your fermenter. In order to ensure that your beer is carbonated correctly, make sure that you fill each bottle with enough priming sugar to ensure that it will be carbonated to the style.
Capping the Bottles
Once your bottles are filled up to the right level, it is time to cap them. A traditional capper works great here, but if you don’t have one you can use a vice and a hammer. Make sure to check each bottle’s seal to make sure that it is tight and completely sealed. You don’t want your beer to go flat before you can enjoy it!
Storage and Aging Your Beer
Once all of your bottles are capped, it’s time to store them away. Make sure to find a cool and dark place with a consistent temperature. Storing beer in an area that is too hot or too cold can lead to off-flavors, so make sure to find the ideal temperature. Additionally, you should check your bottles after a few days to make sure that they are carbonating properly. If the bottle is not bulging, then it means that it is not carbonating. You can add a bit more priming sugar if needed or just let it keep on conditioning.
Here are Some Additional Tips:
- Always make sure that your fermenter is at the proper temperature before you begin bottling.
- Make sure to use the right amount of priming sugar for the style of beer that you are bottling.
- Always use sanitized equipment and sanitize any surfaces that come in contact with your beer.
- Check the level of carbonation in the bottles after a few days. If the bottle is not carbonated, add a bit more priming sugar.
- Make sure to store your bottles in a cool and dark place with a consistent temperature.
- Be patient when storing your beer! Some styles may take 2-3 weeks before they are ready to drink.
Brewing and bottling your own beer can be a fun and rewarding experience. By following the tips and tricks outlined in this article, you can avoid some common mistakes and ensure that you get the best results when bottling your beer. So, go ahead and get brewing!

